Ordinals are a new way to bring NFTs to Bitcoin. Learn what Ordinals are, how to setup an Ordinal wallet, and how to buy your first digital artifact!
Ordinals are native Bitcoin NFTs. Anyone can create an Ordinal by attaching data onto an individual satoshi (the smallest unit of Bitcoin). The act of putting data onto Satoshis is called inscribing. As such, Ordinals are often called Inscriptions or Digital Artifacts.
As defined in the Ordinal Theory Handbook,
Casey Rodarmor published the Ordinal Theory Handbook on January 20th, 2023. The handbook defines first, how to identify individual satoshis, and second how to attach data to one.
The Ordinal Protocol assigns an ordinal number to each satoshi based on it's mint time. The unique identifier gives satoshis a non-fungible property. Holders can now identify and select which satoshis they want to use.
The Ordinal Theory Handbook presents the following notations for the classification system:
The classification system makes some satoshis more rare than others based on their proximity to key Bitcoin events.
Today, rare Satoshis are sought out by collectors around the world.
In addition to the classification system, the Ordinal Protocol laid out how to inscribe satoshis with data.
Inscribing is the process of attaching data to a satoshi. To write the data, users send a transaction to a taproot compatible address. They save the data in the witness section of the transaction. Any data can be chosen, including images, text, or video.
Next, we need an Ordinal compatible wallet.
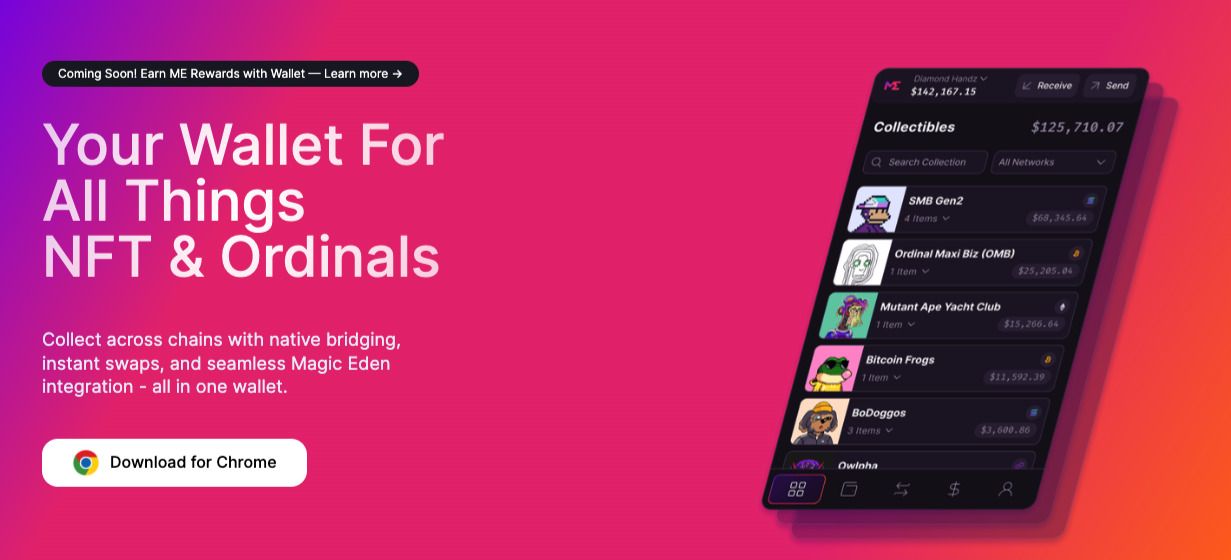
Magic Eden Wallet is the premier Ordinal wallet. It carries a number of Bitcoin features, including
Magic Eden also supports other popular Bitcoin wallets such as Xverse, Leather Wallet and Unisat.
We recommend having only one wallet extension to avoid potential conflicts or unexpected issues.

When using wallets for Ordinals on Magic Eden, you will have two Bitcoin addresses:

Note: Bitcoin transactions take longer than other networks to confirm. To avoid delays, we recommend funding your wallet well in advance, before you intend to mint or trade.
Here are the steps to fund your wallet:
Please be patient during the transaction as Bitcoin transactions can be slow. Once the transaction is successful, your wallet will be funded and ready for action.
We wrote an entire guide on buying and selling Ordinals here.
Welcome to the Launchpad, an experience that may differ from what you've encountered on other chains. If this is your first time transacting on Ordinals with your wallet, you'll need to prepare your wallet first by confirming a popup prompt.
Follow these steps to mint Digital Artifacts:
The information provided on this website is provided for general educational purposes only and is in no way financial or investment advice. Certain information may have also been provided to us or prepared by third parties; these materials are provided for convenience and are not an endorsement by Magic Eden. Magic Eden is not liable for any errors, changes or amendments to such information, including any actions taken in reliance on such information.


